Demonstration stopwatch
Connection of display is simple: pins (+) and (-) are connected to +5V and GND respectively, D is connected to Analog-4 and C to Analog-5 (on more recent Arduino cards like R3 and later the pin D is connected to specialized SDA port and C to SCL). For more information please see the Adafruit webpage for this display. Button is connected to the digital pin 4 of Arduino (can be changed in source code), other side connected to ground.
After double-checking your connections you can upload this source code to the Arduino card. Source code uses Adafruit libraries, which are part of the Arduino IDE that you can download from this page.
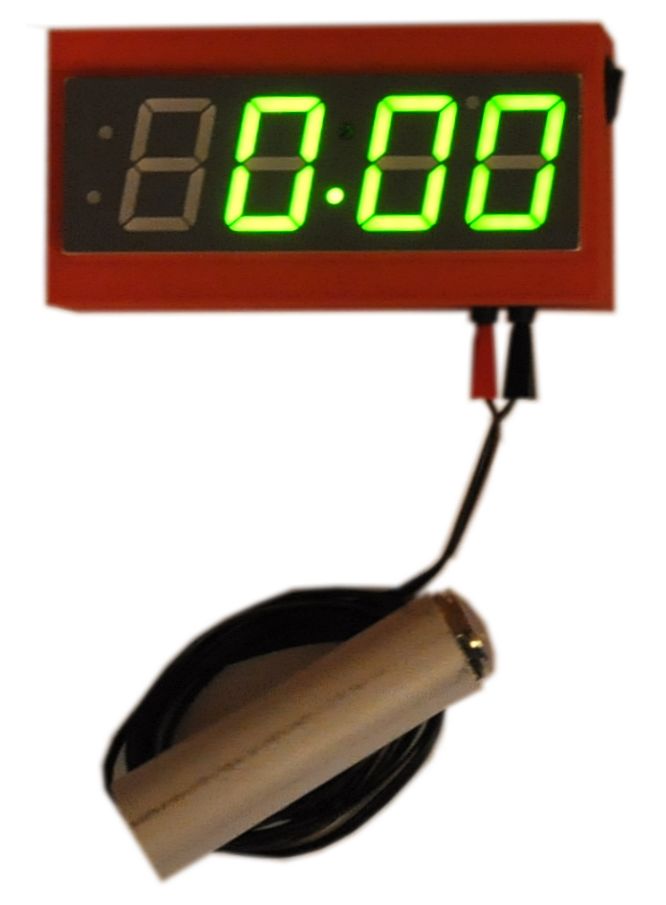
Button is one of the sturdy types and is fitted into piece of plastic tubing for better grip. Source code is based on the Stopwatch example:
1 2 3 4 5 6 7 8 9 10 11 12 13 14 15 16 17 18 19 20 21 22 23 24 25 26 27 28 29 30 31 32 33 34 35 36 37 38 39 40 41 42 43 44 45 46 47 48 49 50 51 52 53 54 55 56 57 58 59 60 61 62 63 64 65 66 67 68 69 70 71 72 73 74 75 76 77 78 79 80 81 82 83 84 85 86 87 88 89 90 91 92 93 94 95 96 97 98 99 100 101 102 103 104 105 106 107 108 109 110 111 112 113 114 115 116 117 118 119 120 121 122 123 124 125 126 127 128 129 130 131 132 133 134 135 136 137 138 139 140 141 142 143 144 145 146 147 148 149 150 | /* StopWatch * Sketch is based on Paul Badger's StopWatch sketch, * http://playground.arduino.cc/Code/Stopwatch */ #include "Adafruit_LEDBackpack.h" #include "Adafruit_GFX.h" #include <Wire.h> Adafruit_7segment matrix = Adafruit_7segment(); // for LED display #define ledPin 13 // LED connected to digital pin 13 #define buttonPin 4 // button on pin 4 int value = LOW; // previous value of the LED int buttonState; // variable to store button state int lastButtonState; // variable to store last button state int blinking; // condition for blinking - timer is timing long interval = 50; // blink interval - change to suit long previousMillis = 0; // variable to store last time LED was updated long startTime ; // start time for stop watch long elapsedTime ; // elapsed time for stop watch int fractional; // variable used to store fractional part of time //long now; void setup() { Serial.begin(9600); pinMode(ledPin, OUTPUT); // sets the digital pin as output pinMode(buttonPin, INPUT); // not really necessary, pins default to INPUT anyway digitalWrite(buttonPin, HIGH); // turn on pullup resistors. Wire button so that press shorts pin to ground. matrix.begin(0x70); // matrix.setBrightness(15); // matrix.writeDigitRaw(0,10101111); // matrix.writeDigitRaw(1,10101110); // matrix.writeDigitNum(3, 0); // matrix.writeDigitRaw(4,10110110); // matrix.writeDisplay(); // delay(1000); matrix.writeDigitRaw(0,0); matrix.writeDigitNum(1, 0); matrix.writeDigitNum(3, 0); matrix.writeDigitNum(4, 0); matrix.writeDigitRaw(2, 0x02); matrix.writeDisplay(); } void loop() { // check for button press buttonState = digitalRead(buttonPin); // read the button state and store if (buttonState == LOW && lastButtonState == HIGH && blinking == false){ // check for a high to low transition // if true then found a new button press while clock is not running - start the clock startTime = millis(); // store the start time blinking = true; // turn on blinking while timing delay(5); // short delay to debounce switch lastButtonState = buttonState; // store buttonState in lastButtonState, to compare next time } else if (buttonState == LOW && lastButtonState == HIGH && blinking == true){ // check for a high to low transition // if true then found a new button press while clock is running - stop the clock and report elapsedTime = millis() - startTime; // store elapsed time blinking = false; // turn off blinking, all done timing lastButtonState = buttonState; // store buttonState in lastButtonState, to compare next time // routine to report elapsed time Serial.print( (int)(elapsedTime / 1000L)); // divide by 1000 to convert to seconds - then cast to an int to print Serial.print("."); // print decimal point // use modulo operator to get fractional part of time fractional = (int)(elapsedTime % 1000L); // pad in leading zeros - wouldn't it be nice if // Arduino language had a flag for this? :) if (fractional == 0) Serial.print("000"); // add three zero's else if (fractional < 10) // if fractional < 10 the 0 is ignored giving a wrong time, so add the zeros Serial.print("00"); // add two zeros else if (fractional < 100) Serial.print("0"); // add one zero Serial.println(fractional); // print fractional part of time to the serial port } else{ lastButtonState = buttonState; // store buttonState in lastButtonState, to compare next time } // blink routine - blink the LED while timing // check to see if it's time to blink the LED; that is, the difference // between the current time and last time we blinked the LED is larger than // the interval at which we want to blink the LED. if ( (millis() - previousMillis > interval) ) { if (blinking == true){ float now = millis()-startTime; String s = String(trunc(now/1000)); String ms = String(trunc((now/1000-trunc(now/1000))*100)); if (now < 10000) { // If the time is less than 10 sec (10.000 msec) String s1 = s.substring(0, 1); // ...we need the first digit only matrix.writeDigitRaw(0, 0); // which we plot to the second place of 7-seg matrix.writeDigitNum(1, s1.toInt()); String s3 = ms.substring(0, 1); // and ve plot the first and second place of miliseconds String s4 = ms.substring(1, 2); matrix.writeDigitNum(3, s3.toInt()); // to the third... matrix.writeDigitNum(4, s4.toInt()); // ...and fourth place of 7-seg. matrix.writeDisplay(); } if (now > 10000) { // If the time is greater than 10 sec (10.000 msec) String s1 = s.substring(0, 1); // ...we need the first digit String s2 = s.substring(1, 2); // ...and second digit matrix.writeDigitNum(0, s1.toInt()); // Which we plot to the first... matrix.writeDigitNum(1, s2.toInt()); // ...and second digit of the 7-seg. String s3 = ms.substring(0, 1); // and ve plot the first and second place of miliseconds String s4 = ms.substring(1, 2); matrix.writeDigitNum(3, s3.toInt()); // to the third... matrix.writeDigitNum(4, s4.toInt()); // ...and fourth place of 7-seg. matrix.writeDisplay(); } if (now > 99950) { // If the time is greater than 99.95 sec (95.95 msec) blinking = false; // stop the clock! } previousMillis = millis(); // remember the last time we blinked the LED // if the LED is off turn it on and vice-versa. if (value == LOW) value = HIGH; else value = LOW; digitalWrite(ledPin, value); } else{ digitalWrite(ledPin, LOW); // turn off LED when not blinking } } } |